
The Tools of Bread Making
What a home baker needs to make great bread and why.
Let's get started by taking a look at the tools required for bread baking at home and participating in the lessons on this site. The following are the basic tools you will need to get started. When we start to get into more advanced bread formulas and styles additional tools may be needed but for now these tools will get you off the ground and started with creating your own bread!
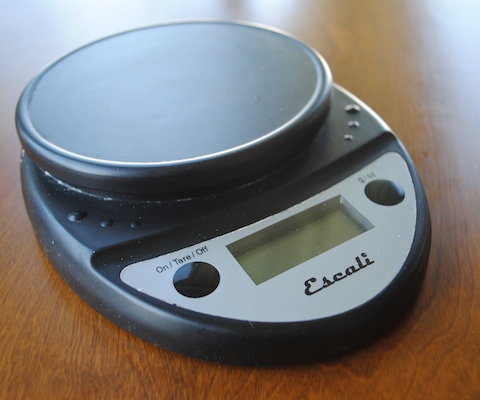
1. Scale
If you're a beginning baker then I'm sure most bread recipes you've been exposed to have been in volume measurements i.e. 2 cups flour, 1 cup water etc. There is a problem with measuring ingredients in this manner however: the amount of an ingredient in one cup is almost never the same from cup to cup! In bread baking, especially when starting out, exactness is extremely important. Bread baking is hard enough to do consistently when all your ingredients are accurately measured. With volume measurements you could be executing what is essentially a totally different recipe every time you make it! Why put yourself in a hole before you even get started?
This is where the scale comes in. With a scale, you will know exactly how much of an ingredient you're using every single time. This eliminates a lot of uncertainty right off the bat and puts you in a position to control your bread and not the other way around! Any competent professional baker uses a scale and there is no reason for you not to as well.
Another important benefit of measuring ingredients by weight is that you will be able to read bread formulas easily and understand if it is properly designed before doing anything. You can't do this with volume measurements. It just doesn't work. This is the key to being able to add any ingredient you want to your bread, be it an ancient grain, sunflower seeds, nuts, sugar, oil etc., and knowing it will work. You will be creating great bread and eliminating a significant amount of guess work.
Here at a breaducation all measurements will be in grams. Grams are much cleaner to work with than pounds and ounces and if you don't work with them already I highly suggest you start.
This is the scale that I use. It's fairly cheap and gets the job done. You can go for a more expensive scale with more features and a nicer look if you like but it's not necessary to make good bread.
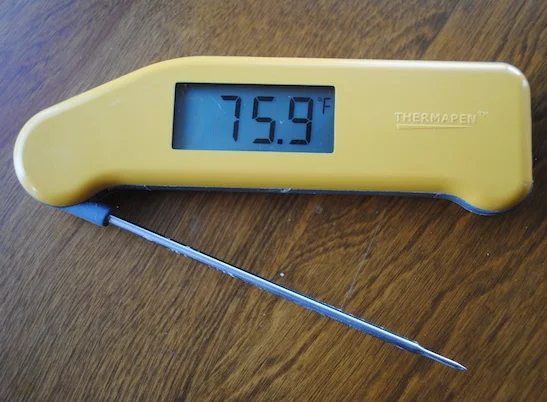
2. Instant-read Thermometer
Just as we need precision in our measurements of ingredients, we also need to be precise in regulating the temperature of our doughs. Temperature is a very important factor in bread baking. In fact, it is probably the most important factor behind scaling your ingredients accurately. The pace at which a dough moves from step to step through a recipe is completely dependent on what the dough temperature is.
Imagine you have a recipe that says "Let the dough rise for one hour". Well it could take an hour or it could take three hours! We don't know unless we know our dough is at the temperature the recipe calls for.
Temperature is even more important for a beginning baker who does not yet have a feel for the dough and when it is ready to move to the next step of a recipe. All you have to rely on starting out are the times stated in the recipe and if your temperature is off by even five degrees the times become nearly useless. I saw the greatest improvement in my breads as a beginner when I started to get serious about temperature. Before that my results were always inconsistent and I had to make a lot of guesses about when to execute steps.
Beyond helping to control timing, temperature also has a massive effect on bread flavor, especially when dealing with sourdoughs. Different bacteria and yeasts thrive at different temperatures and these are your main flavor producers. The kind of bacteria that give bread a strong tangy flavor might prefer lower temperatures while one that produces a more mild sourness enjoys a little more warmth. So if you're looking for a certain flavor in your bread temperature could be the key to getting you there.
I recommend getting a digital instant-read thermometer for clarity and accuracy in reading. You should also consider getting a water proof or water resistant model as you will be taking the temperature of water with almost every loaf you bake. Below are a few recommendations:
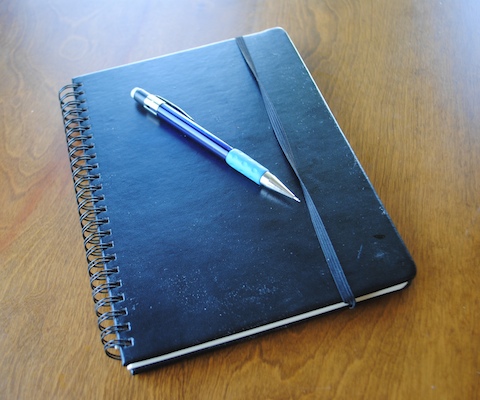
3. Notebook
When making bread there is a good deal of information that the baker must keep track of. What time did you mix the bread? What temperature did the dough come out to? How long did the dough ferment until it was ready? What time should I fold the dough? Etc. These are all important bits of information that help the baker make better decisions and make better bread.
Whenever you bake, you should always keep track of this kind of information by writing it down. If you try to keep track of it all in your head there is a good chance you will forget something and it will leave you guessing about when you should take the next step.
Another good reason for writing things down is that it will allow you to look at past bakes and learn from them. Say a recipe says to ferment the dough at 76 degrees for 2 hours but the last time you baked that bread you let it ferment for 3 hours at 76 degrees and the bread came out better than ever. If you wrote that information in your notes you will be able to draw from it later to make better bread. If you get in the habit of taking notes and using them you will get better at baking, faster.
I recommend a dedicated notebook for this task. Somewhere you can keep information about all your bakes together and organized.
4. Mixing Bowls
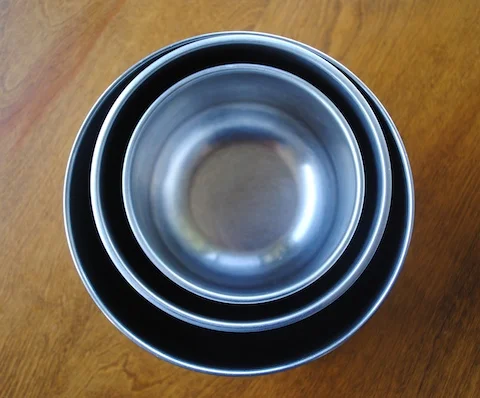
You are going to need a place to mix your dough. You are also going to need a place to let it ferment. Mixing bowls are the perfect tool for both of these tasks. I would recommend plain metal bowls. No need to get anything fancy with rubber handles and all that. I like to have one extra large bowl to mix in. It gives a little more room to mix and makes it easier to keep flour from flying all over the kitchen.
Chances are you already have some mixing bowls and that they will be more than suited to the task.
5. Bowl Scraper / Dough Divider
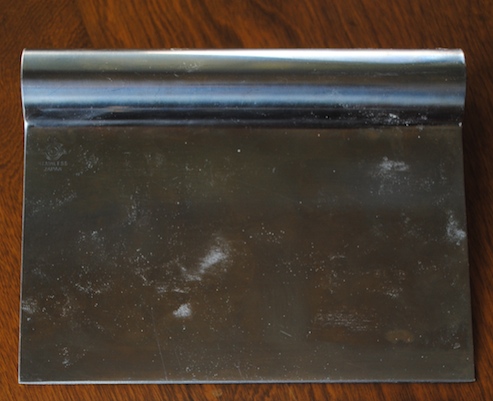
This is possibly my favorite tool for use in bread baking. You can get by without a dough divider but once you have used it you won't want to. Besides using it to divide dough, it is amazing for moving dough around the counter without leaving any behind or getting your hands sticky. It just makes dough handling infinitely easier. Eventually it will become like an extension of your hand.
I have a straight metal divider for moving dough around the counter and dividing it and a curved plastic one that is great for scraping every last bit of dough out of a bowl. I highly recommend both.
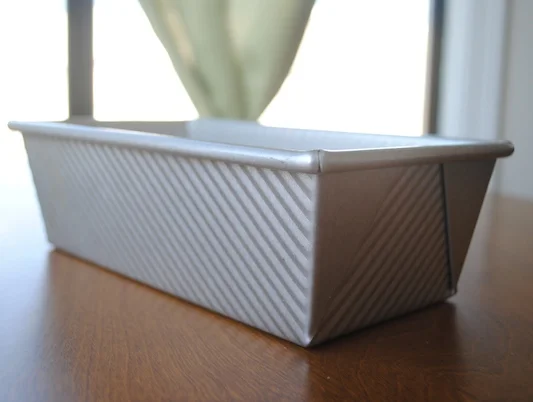
6. Loaf Pan
For the lessons on a breaducation we will be starting with pan breads. There are a couple reasons we chose to start this way:
- Your shaping skills don't have to be as good to produce a great product. As a beginner we want you to focus on getting a good feel for the dough as it moves through the stages of fermentation and how to handle it. We also want you to have success early and we want to make it as easy as possible to make something great. If you make mistakes in shaping the loaf pan will be much more forgiving.
- It requires less oven set up. To bake a free form loaf at home you must have additional equipment like a baking stone, a system to generate good steam in the oven and a method and tools for loading the loaf on to the stone. Since our mission is to get people baking great bread as easily and quickly as possible we wanted to keep it simple. The loaf pan allows us to do this.
A single metal 9in x 5in or 4.5in x 8in loaf pan will work perfectly for a breaducation lessons and we will be providing formulas in two batch sizes, one for each size pan.
Got Your Tools?
Have you got everything you need to start baking? If so, head over to lesson one and learn to bake your first loaf!